
How I Rescued My Gray Hair After a Product Disaster
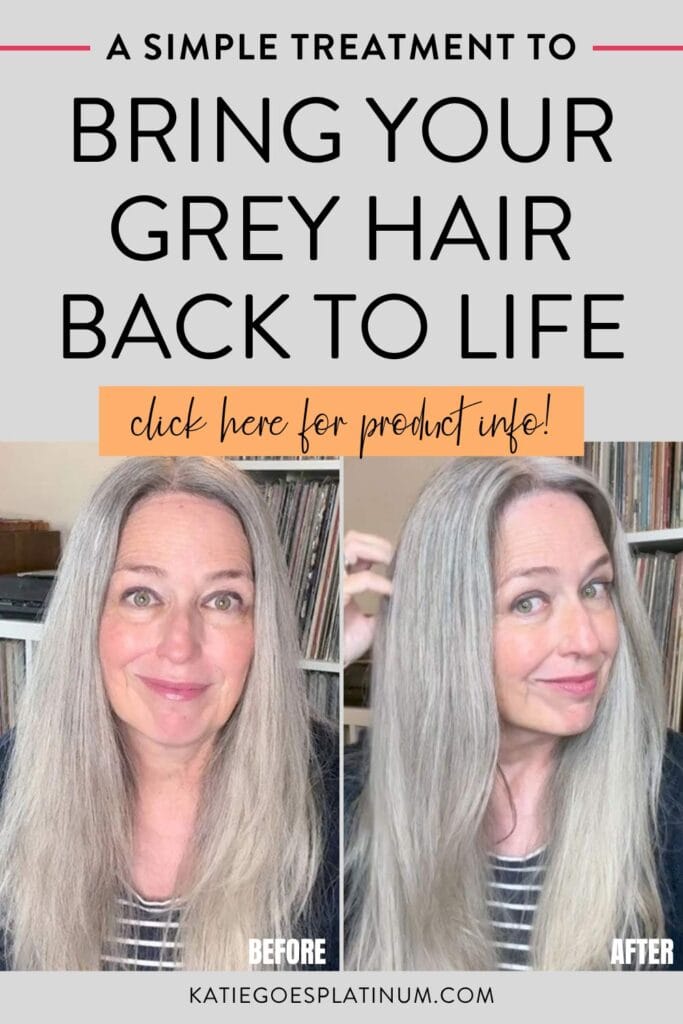

Have you ever messed up your gray hair so badly that you wondered if it would ever recover?
That’s exactly what happened to me when I got a little too excited about testing some viral gray hair products.
Spoiler alert: it did not go well.
📌 In This Guide
If a new product has left your gray hair feeling dull, limp, coated, or just plain wrong, don’t panic! In this article, I’m sharing exactly what happened when I used the wrong products for my hair type, and the tried-and-true treatment I used to get my hair back to normal.
You’ll learn:
- Find out what went wrong with my gray hair – and why the products I tested were such a bad match for my hair type.
- See how I rescued my dull, lifeless hair with the clay mask I’ve relied on for years.
- Learn exactly how I mix and apply the treatment so you can see the entire process from start to finish.
- See my results after just one treatment – plus what I learned from this particular product disaster.
Want to see exactly what happened to my hair, and how I fixed it? Watch the full rescue process below:

Please note that this article may contain affiliate links. You can read my full disclosure at the bottom of the page.
The Product Disaster That Started It All
I’ll be honest with you: despite spending the past eight years blogging about (and living with) gray hair, I made a rookie mistake:
I tested Just Nutritive Gray Hair Shampoo and Conditioner without doing my homework first. And by homework, I mean actually researching whether or not these products were right for my hair type.
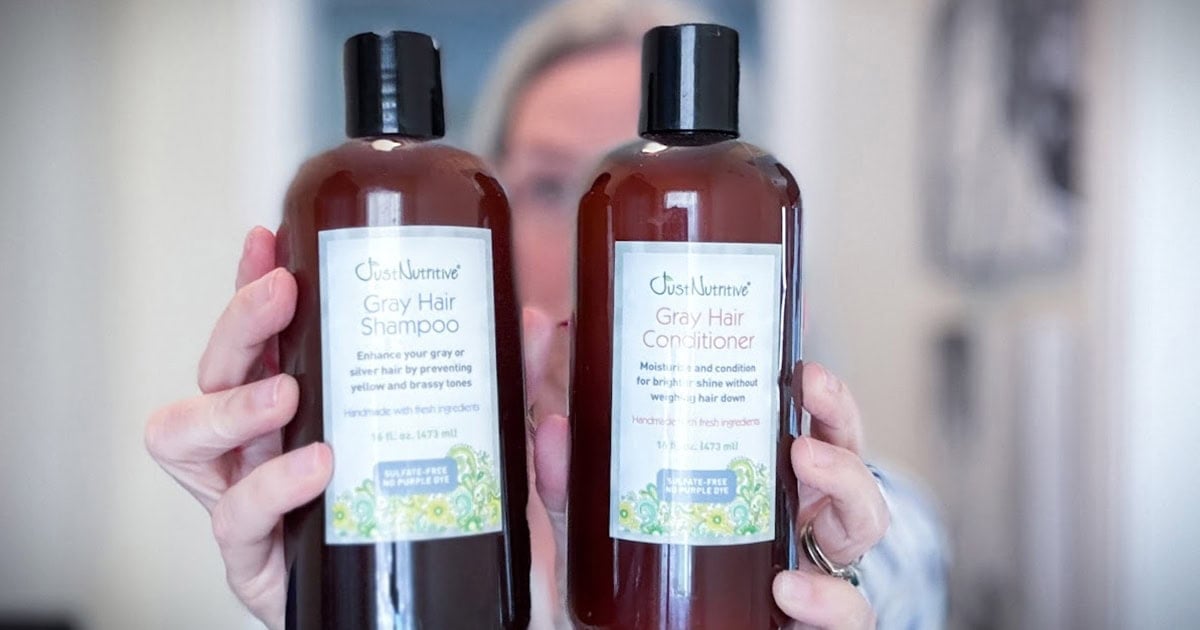
They weren’t. Not even close.
For several weeks after using them, my hair felt BLAH. It was staticky, limp, and lifeless. It looked dirty and sported ugly yellow tones. And worse, it just sat there on my head, refusing to do anything.

Nothing I tried seemed to fix it.
Why I Always Keep A Secret Weapon on Hand
One thing I’ve learned from testing so many hair products over the years is that it helps to have a backup plan for when things go sideways.
For me, that backup plan is always the QuickSilverHair Squalane Kit.
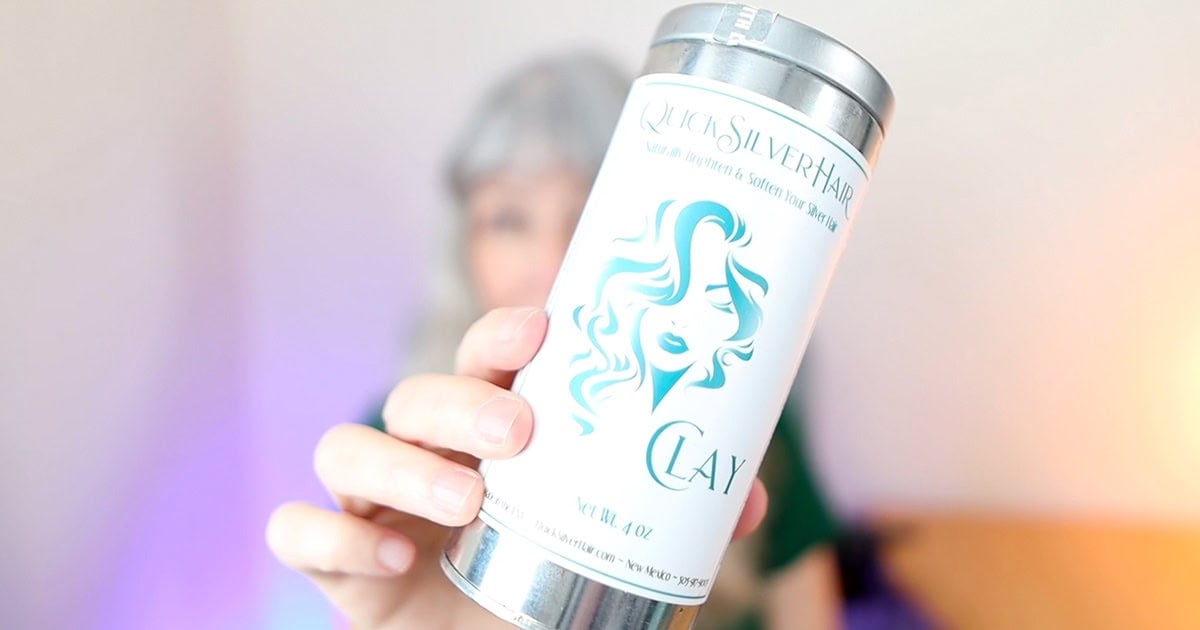
QuickSilverHair Clay is now sold in a pouch; mine is shown in the previous metal-can packaging.
I keep it stocked in my bathroom at all times, and use it whenever I feel like my hair needs a deep cleanse, some moisturizing, and a little brightening.
My friend and fellow gray-hair blogger Joli Campbell created this kit, and I’ve been using it for eight years now. It’s hands-down my number one favorite gray hair product.
I’m not affiliated with this product in any way, by the way. I promote the heck out of it because it’s simply that good.
What This Clay Mask Actually Does for Gray Hair
Whenever my hair feels weighed down from product overload, this mask brings it back to life.
It removes impurities and product buildup that weigh your hair down. For gray hair specifically, that buildup can make your silver look dull and dingy instead of bright and shiny.
The mask also helps restore softness. You know that silky, touchable feeling your hair had before you used the wrong products? This brings that back.
And as a bonus, it brightens your gray hair. Not dramatically, but enough to make a noticeable difference.
Want to Save this Article?
How to Mix Up Your Hair Rescue Treatment
The recipe is incredibly simple, which I love because when your hair is a mess, the last thing you want is a complicated fix.
Here’s what you need:
- About two to three tablespoons of QuickSilverHair Clay. I use a little more because my hair is longer – adjust based on your hair length.
- Three to four pumps of QuickSilverHair Squalane Oil
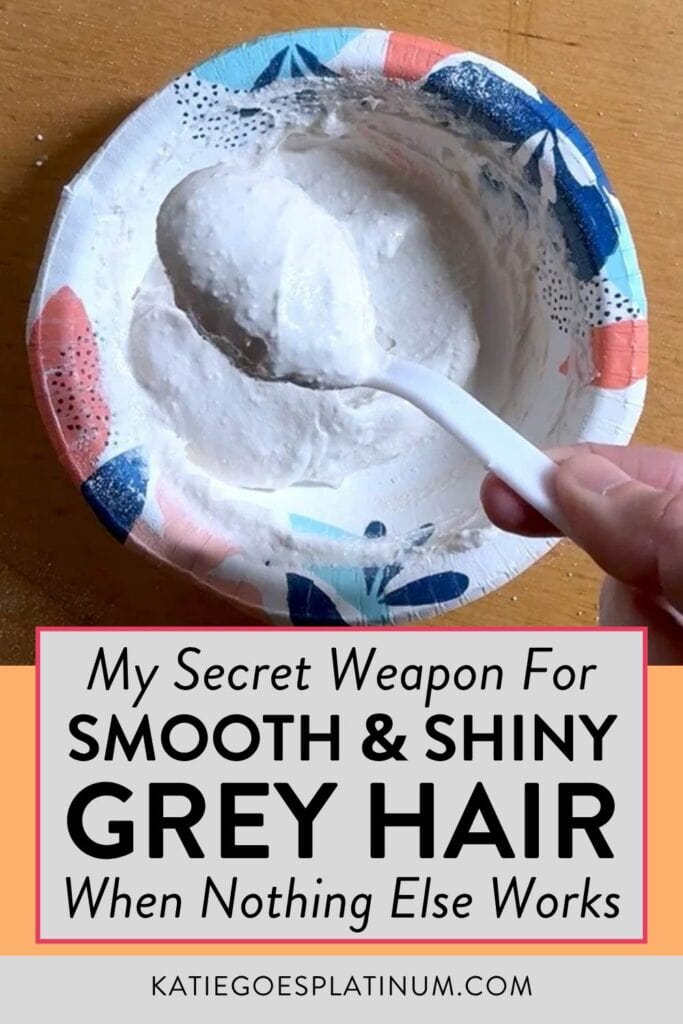
- Enough silicone-free conditioner to make a frosting-like consistency. This is key – you want it thick enough to stay on your hair but smooth enough to spread easily.
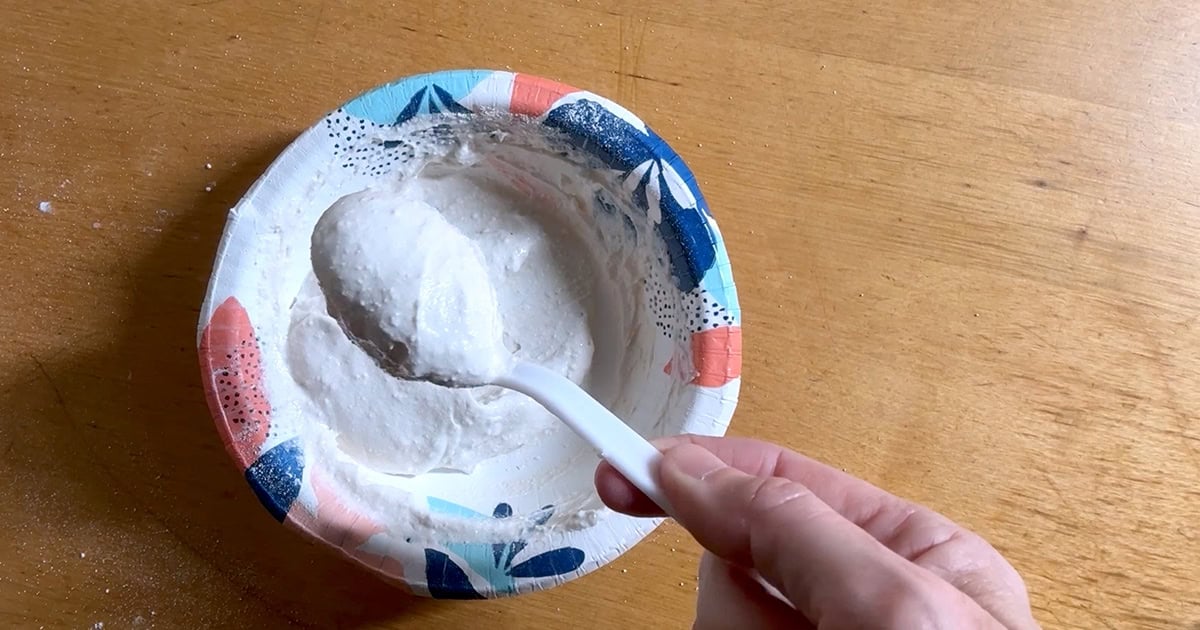
Mix it all in a bowl until you get that perfect frosting-like texture. If it’s too thick, add more conditioner. Too thin? Add more clay.
How I Apply the Mask
Start with a clean slate. Wash your hair with a silicone-free clarifying shampoo.
I use this one, but any good clarifying shampoo will work. The point is to remove as much of the problematic product buildup as possible before you apply the mask.
After rinsing out the shampoo, it’s time for the mask.
I literally just glop it on – there’s no fancy technique here. Make sure you coat all of your hair thoroughly, working the mixture through from roots to ends. Then pile it all on top of your head and secure it with a shower cap.
Set a timer for 40 minutes. That’s the maximum recommended time, and I prefer to always give this treatment the full 40 minutes to work its magic.
After 40 minutes, rinse everything out thoroughly. You can use shampoo if you want, but I find that the mask rinses out pretty easily on its own.
Then style your hair like you normally would.
The Results Were Better Than I Expected
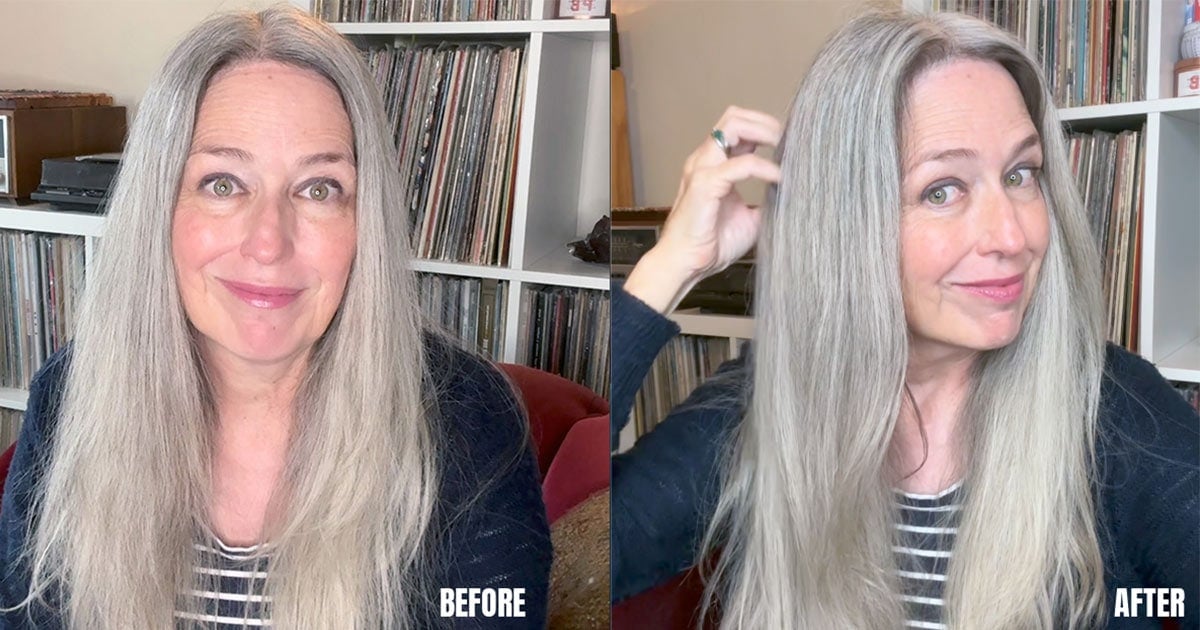
I’m not going to lie: For the first time ever, I worried that the mask wouldn’t work.
Nothing else I’d tried in those two weeks had helped even a little bit. My hair had been consistently terrible for 14 days straight.
But the mask came through.
My hair felt SO much better – better than it had felt in weeks. It had movement again. It was shiny and smooth instead of dull and staticky.
Most importantly, it didn’t feel weighed down anymore.
It no longer looked greasy or felt dirty. The staticky, flyaway mess was gone. My hair was back to feeling moisturized, clean, and manageable.

A Quick Reality Check About Brightness
Now, I’d like to clarify one thing (besides my hair, of course 😉):
My hair wasn’t quite as bright as it normally is, but that’s not the mask’s fault. I went swimming a lot during the summer, and even though I took precautions against chlorine damage, my hair still got a bit stained.
But even with the chlorine staining, my hair looked noticeably brighter after using the mask than it did before.
So yes, QuickSilverHair for the win. Again.
The Lesson I Keep Learning
I’ve been on this gray hair journey for years now, and I still make mistakes.
Sometimes I get excited about a new product and jump in without researching whether it’s right for my hair type. And sometimes I test products that simply don’t work for me. That’s going to happen when you experiment with your hair – especially if, like me, you’re constantly testing things!
The good news is that I’ve learned what works when my hair needs rescuing. For me, it’s this mask. Yours might be something completely different.
But I definitely learned my lesson this time: do your homework before putting a viral product on your head.
Question: Have you ever tried a hair product that completely backfired on you? And, more importantly, what did you do to fix it? Let me know in the comments!
Please do me a favor and share this post to social media, as it helps me grow my audience and spread the word about our Silver Revolution! And remember to subscribe to my YouTube Channel and Pinterest Feed for more gray hair tips and product recommendations. Thanks!


I’m a former 60 year bottle baby who decided to quit the every 4 weeks routine. I am 3 months in and at the point of not really knowing what my hair is going to end up looking like. At the moment, it’s kind of a strawberry blonde/gray but the growth is only about a good 1” and I’m keeping a short bob. My husband loves the new growth and is cheering me on..