I Swore I’d Never Flat Iron My Gray Hair Again — Until Now
The first and only time I used a flat iron on my gray hair, I singed my hair, and some of it broke off. Yikes!
That was eight years ago. After that experience, I swore I would never let a flat iron come near my silver hair again.
But my new bangs made me reconsider.
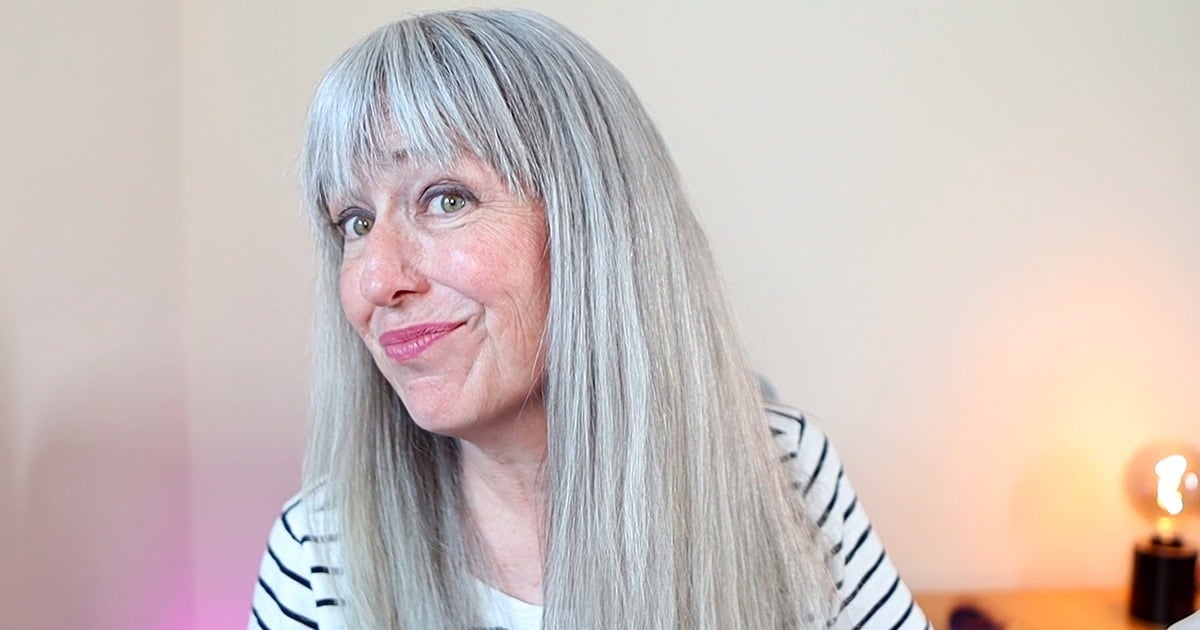
I have a cowlick underneath them that creates a lumpy, curled-under look that reminds me a little too much of the 1950s:

I wanted a way to smooth that bump and, occasionally, give the rest of my hair a sleek, polished finish without adding waves.
So I finally decided to face my fear and try a flat iron again.
And much to my surprise, I loved the results!
📌 In This Guide
If you’ve been nervous about using a flat iron on your gray hair, this guide will help you:
- Understand why I finally tried again. Find out what persuaded me to reconsider flat irons after avoiding them for eight years.
- Learn exactly how I used it. See the heat protectants, setting, section size, and technique I used on my fine gray hair.
- See my real results. Discover how the flat iron affected my hair’s shine, texture, color, and condition.
- Get my honest verdict. Find out what I liked, what gave me trouble, and whether I would use this flat iron again.
Please note that this article may contain affiliate links. You can read my full disclosure at the bottom of the page.
My Flat-Iron Test at a Glance
- My hair type: Medium-density, relatively fine, low-porosity gray hair
- Flat iron tested: Neuro by Paul Mitchell Style+ 1″ Ceramic Straightening & Styling Iron
- Setting used: Medium (see image below)
- Section size: Approximately one inch
- Passes needed: One to three passes, depending on the section and how well I positioned the tool
- Sizzling or burning smell: None
- Visible yellowing: None observed
- How my hair felt afterward: Smooth, glossy, and healthy – not brittle or singed
- Would I use it again? Yes, occasionally, but I wouldn’t use any hot tool daily

Why I Was Willing to Try This Particular Flat Iron
Because my previous experience had gone so badly, I didn’t want to grab just any flat iron and hope for the best.
Instead, I went to my friend Joli Campbell’s website, QuickSilverHair.com, to see what she recommended. Joli is a gray-hair expert, and she also knows my hair well.
Her recommendation was the Paul Mitchell Neuro Style+.
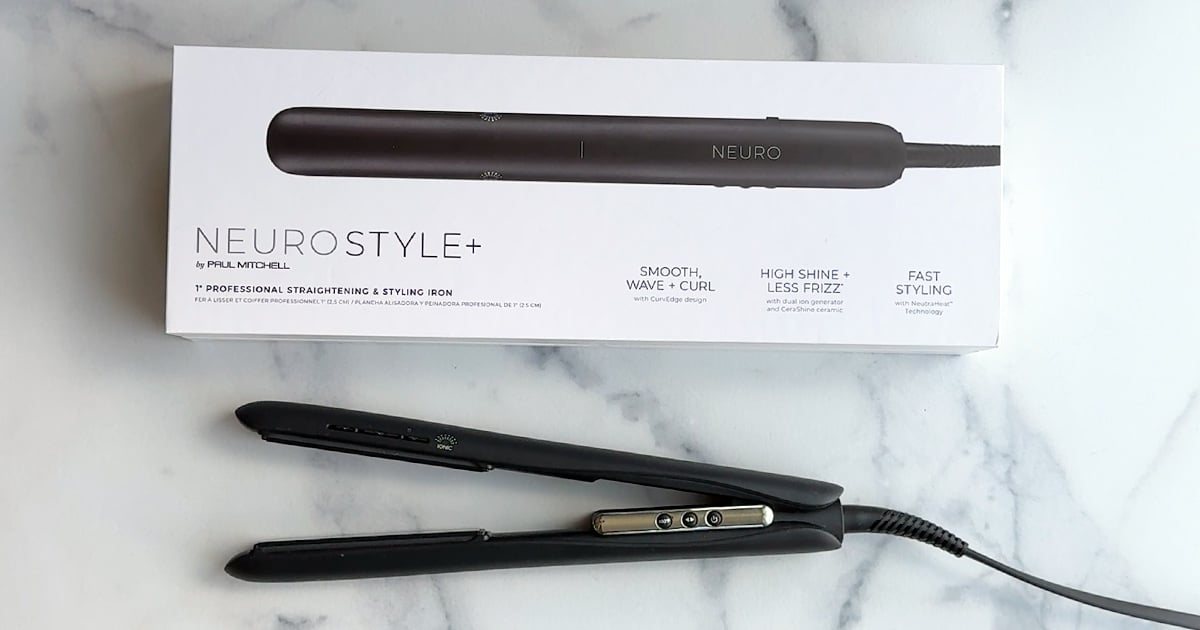
One of the most important features was its adjustable temperature control. My gray hair is relatively fine and prone to yellowing from heat, so I wanted a tool that wouldn’t force me to use one extremely hot setting (as so many of them do).
Joli has already written a very thorough guide to the best heat tools for gray hair, so I’m not going to attempt to duplicate all of her expert advice here. This post is about what actually happened when I used this particular tool on my hair.
How I Prepared My Gray Hair
My first priority was protecting my hair from the heat.
After shampooing and conditioning, I normally apply SEEN Blow-Out Creme to my damp hair. It provides heat and UV protection, so it is already part of my regular routine. But I didn’t wash my hair on the day I tested the flat iron, and I didn’t want to apply a cream to dry hair.
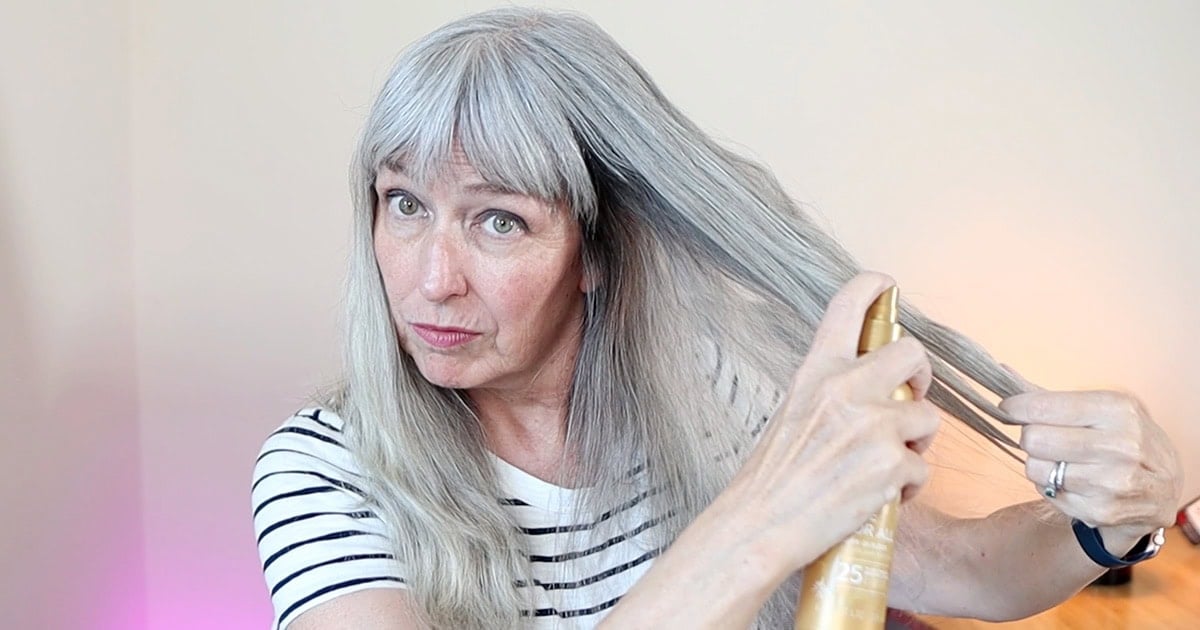
Instead, I used a spray-on thermal protectant, Aveda’s One for All Leave-In Elixir.
I sprayed the thermal protectant on the top and underside of my hair. Then I brushed it through to distribute it evenly, and then let my hair dry thoroughly before I began.
I thought the Aveda product worked well, but I have to warn you that the fragrance is very strong. If you are sensitive to fragrance, I might avoid this one.
Please Note: Aveda’s official directions say to apply this product to damp hair, whoops! I used it differently from the instructions. In the future, I may look for a thermal protectant specifically designed for use on dry hair.
The Setting I Used
I started with the flat iron on its lowest setting. Nothing happened.
It simply wasn’t warm enough to straighten my hair, so on Joli’s advice, I moved it up to medium. She knows my hair well and felt that setting was appropriate for me.
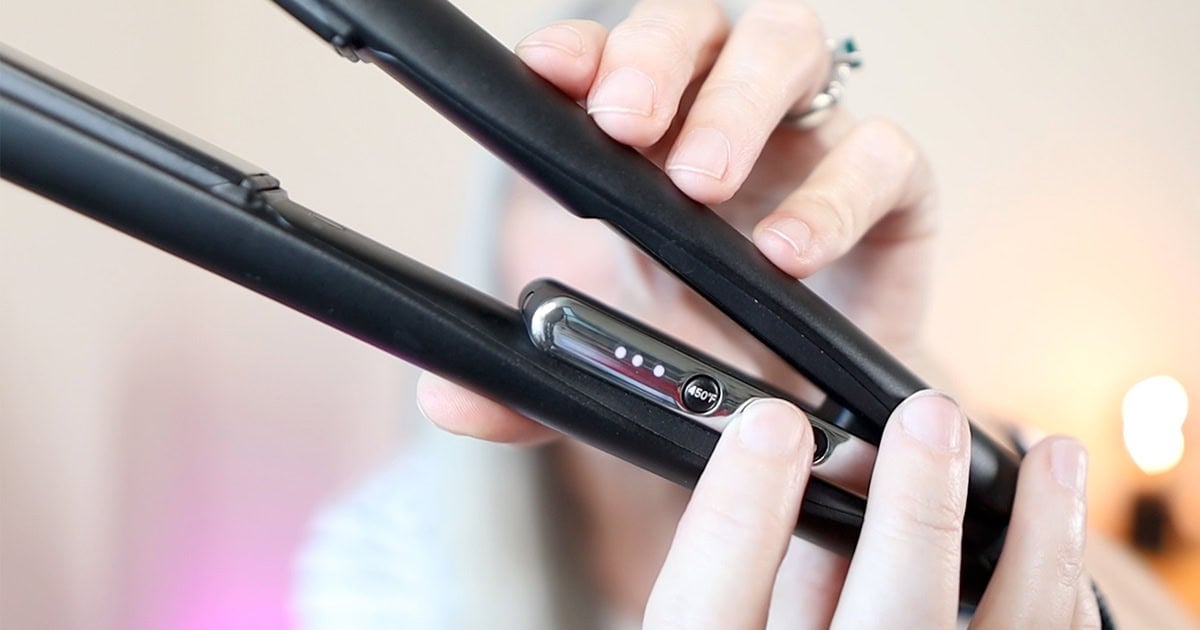
I’m not suggesting that everyone with gray hair should automatically use the same temperature I did. Gray hair can be fine or coarse, thin or thick, healthy or already damaged.
I can only report what worked on my medium-density, relatively fine, low-porosity hair. You might need a higher or lower setting.
Exactly How I Flat-Ironed My Hair
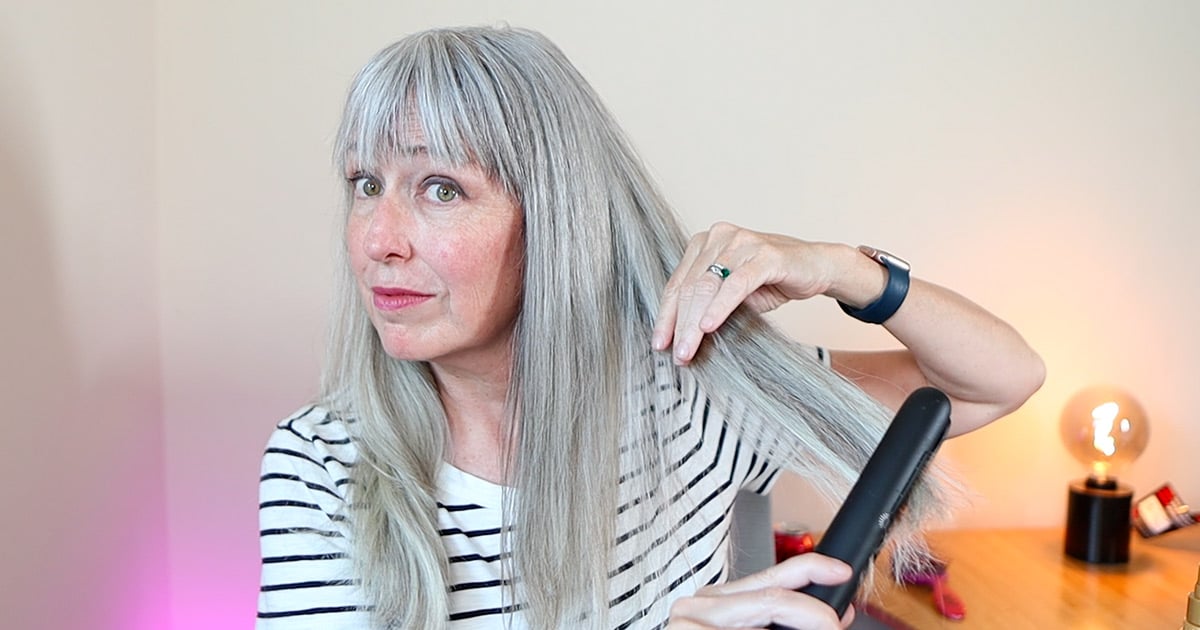
I’ll be honest: I’m not naturally coordinated with hot tools. It took me a little while to get the feel of this one.
I divided my hair into sections and worked with pieces approximately one inch wide.
Using medium pressure, I moved the flat iron steadily down each section without stopping in one place, to avoid crimping.
I also tried to make as few passes as possible. Most sections didn’t need many, although I made up to three passes on a few areas while I was still learning how to hold and move the tool.
My greatest difficulty wasn’t snagging or pulling; it was the opposite: my hair is very smooth and sometimes slipped out from between the plates.
I have the same problem with curling irons and the Dyson Airwrap, so this wasn’t unique to the Paul Mitchell Neuro Style+. Once I adjusted my grip, I was able to keep my hair in the tool and get a smoother result.
What Happened to My Gray Hair?
The first thing I noticed was what didn’t happen.
I never heard the sizzling sound that terrified me during my previous flat-iron experience. I didn’t smell burning, and I didn’t see any immediate yellowing.
Instead, my hair looked smooth, shiny, and glossy.
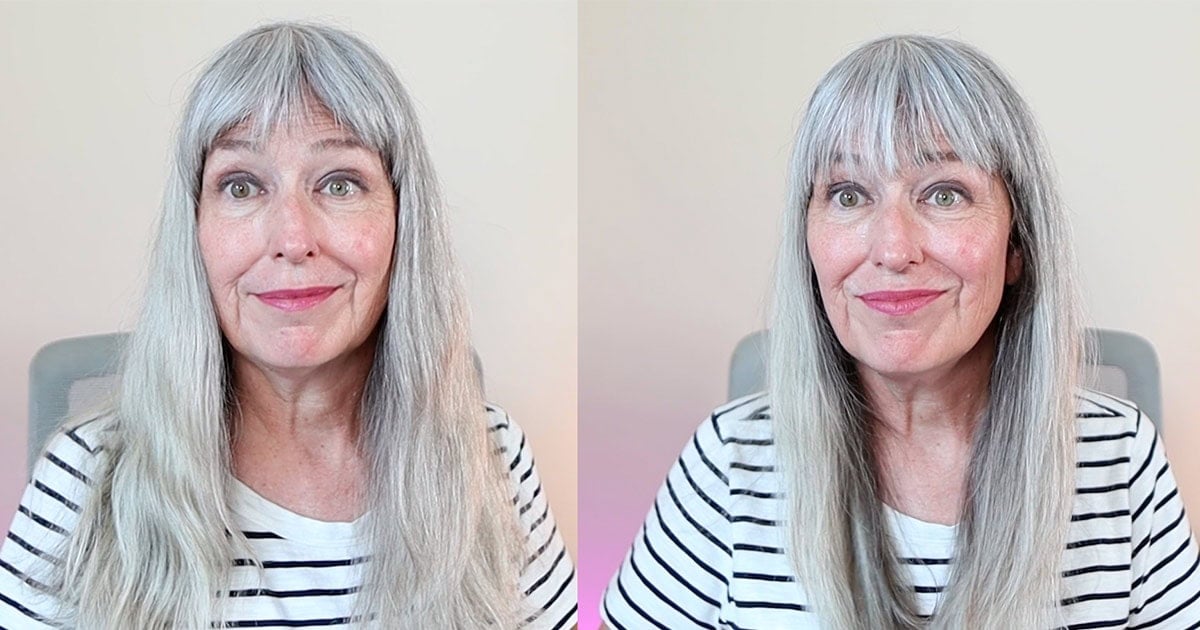
The ends looked exactly the way I wanted them to, and the flat iron smoothed the unwanted bump in my bangs, which was the main reason I bought it.
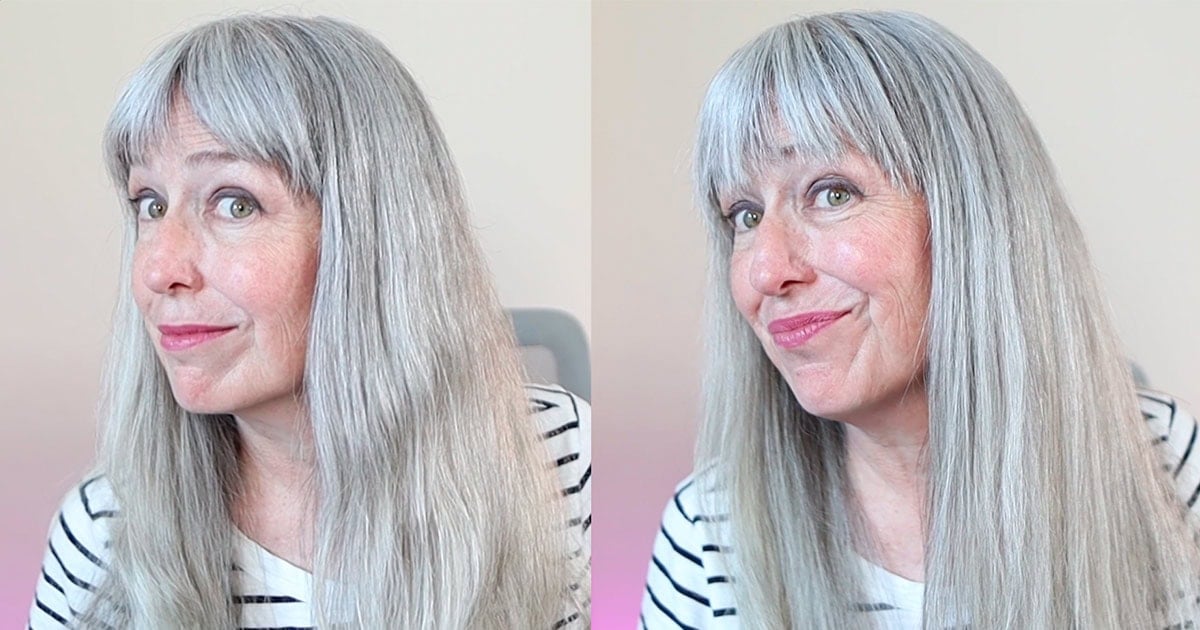
Most importantly, my hair still felt like my hair. It didn’t feel brittle, scorched, or fried, and it still felt healthy through my next wash day.
This was my first use, so I can tell you what I observed immediately afterward, but I can’t yet tell you what would happen if I used this tool frequently over many months.
If I start using it more often, I’ll update this post if I notice any changes in my hair texture.
Want to Save this Article?
What I Liked About the Paul Mitchell Neuro Style+
- It gave me adjustable heat. I could start low and move up only when the lowest setting proved ineffective.
- It created noticeable shine. My hair looked smoother, glossier, and more polished.
- It worked on my bangs. It smoothed the cowlick-related bump that had been bothering me.
- It didn’t snag my hair. If anything, my hair was so smooth that it occasionally slipped out.
- It didn’t trigger the warning signs I feared. I heard no sizzling, smelled no burning, and saw no immediate yellowing.
- My hair still felt healthy. Afterward, it felt smooth rather than brittle or damaged.
What I Didn’t Like
There wasn’t much I disliked about the flat iron itself, but it wasn’t completely effortless.
Because my hair tends to slip out of styling tools, I had to practice holding it correctly. And because I’m not particularly coordinated with flat irons, a few sections required extra passes while I learned the technique.
The other limitation is that the tool’s “medium” setting may not tell another woman exactly what temperature to choose for her own hair. But I would much rather give you my real experience than pretend one setting will work for everyone.
Is This the Best Flat Iron for Gray Hair?
I’m not going to make that claim after testing only one flat iron.
What I can say is that this one worked very well on my medium-density, relatively fine, low-porosity gray hair. It gave me the sleek finish I wanted without any immediate yellowing, burning smell, sizzling, brittleness, or breakage.
If your hair is similar to mine and you want a ceramic flat iron with adjustable temperature controls, the Paul Mitchell Neuro Style+ may be worth considering.
If your hair is coarser, curlier, more porous, or already damaged, your experience – and the setting you need – may be very different from mine.
Will I Use It Again?
Yes, definitely, but not every day, as my hair doesn’t hold up well to repeated heat treatments.
But I’ll use it when I want my hair to look especially sleek and polished without adding waves. I’ll also reach for it when my stubborn cowlick gives my bangs the curled-under bump I dislike so much.
I’ll keep using heat protectant, choose the lowest setting that actually works, and watch my hair for dryness, brittleness, breakage, or color changes.
After what happened eight years ago, I didn’t expect to trust a flat iron again. This experience didn’t turn me into a daily flat-iron user, but it did show me that I don’t necessarily have to be terrified of one either.
When I want a smooth, glassy finish without using a flat iron, I can also smooth my gray hair with the Dyson Airwrap.
Final Thoughts
For eight years, I believed I was simply someone who couldn’t use a flat iron on her gray hair.
Now I know that my first disastrous experience didn’t necessarily mean I had to avoid flat irons forever. With a carefully chosen tool, heat protection, an appropriate setting, and a little patience, I got the smooth, glossy result I wanted, without any of the immediate damage or yellowing I feared.
Have you ever used a flat iron on your gray hair? Did you love the results, or are you still too nervous to try one? Let me know in the comments!
Please do me a favor and share this post to social media, as it helps me grow my audience and spread the word about our Silver Revolution! And remember to subscribe to my YouTube Channel and Pinterest Feed for more gray hair tips and product recommendations. Thanks!