How to Brighten Your Dull Gray Hair Naturally (No Products Needed)!
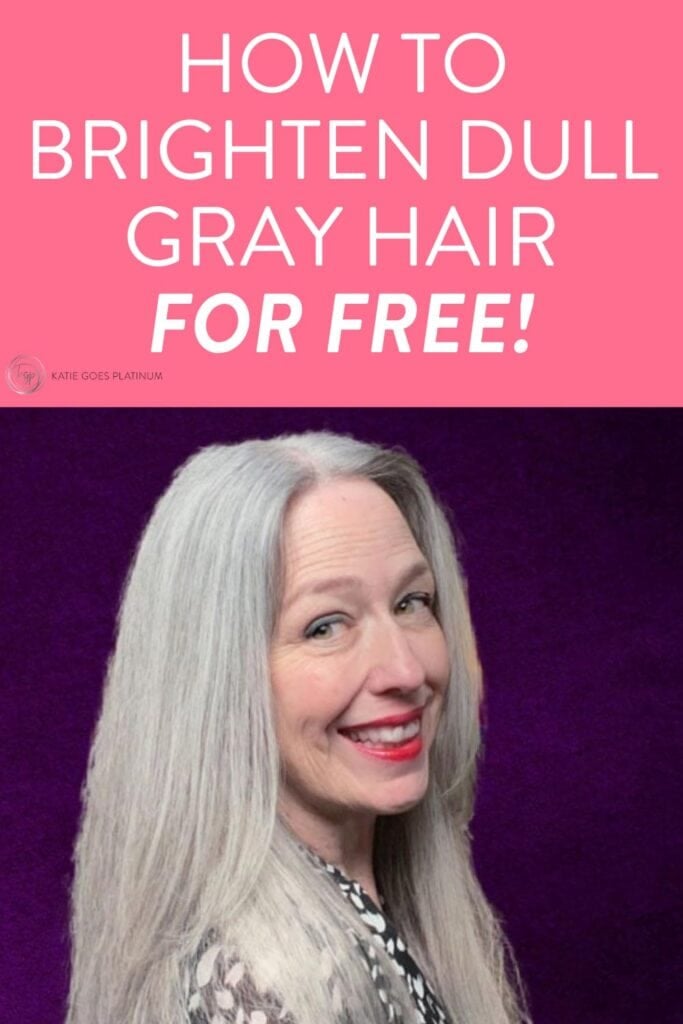

Inside: How to brighten your gray hair naturally for FREE!
Sick and tired of your gray hair looking dull or dingy?
Don’t want to waste money on toning products or expensive salon treatments?
Here’s the good news: You don’t have to!
The real secret to brighter gray hair isn’t found in a bottle or at the salon. Instead, it’s found in the simple everyday things you can add to your hair care routine to enhance your natural color and prevent discoloration and dullness before it even begins.
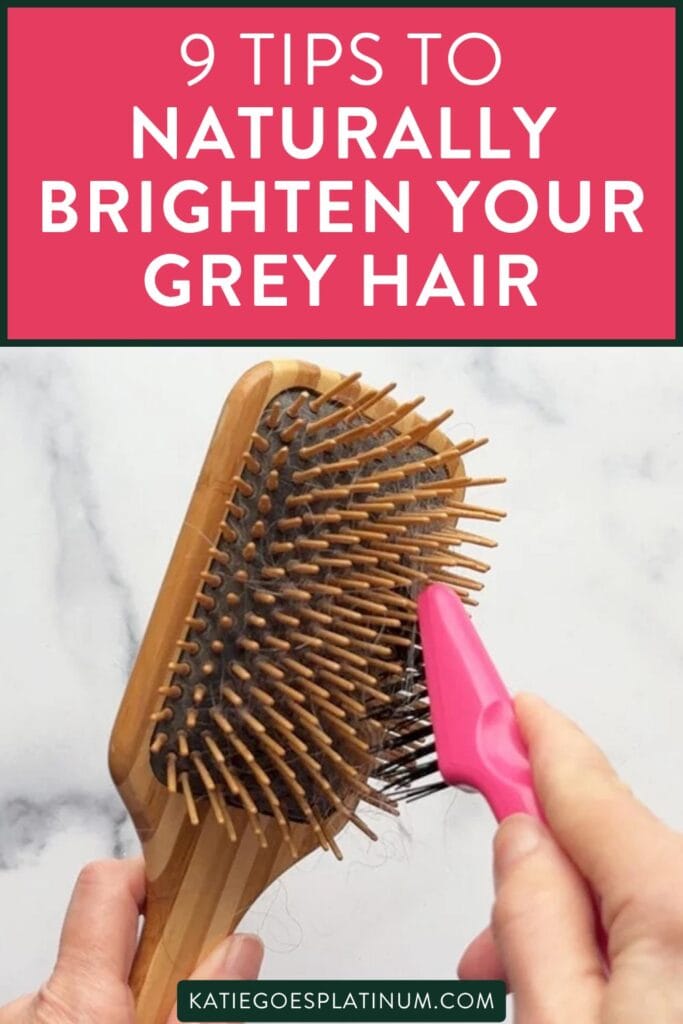
In today’s post, I’ll share nine easy habits that will brighten your gray hair naturally. Best of all, the majority of them are completely free, and most of them are common sense.
But one of them? Honestly, I thought it was kind of ridiculous when I first heard about it. But it has made the BIGGEST difference in how bright and silvery my hair looks these days.
Ready to get started? Let’s jump right in!
📌 In This Guide
Dull or dingy gray hair doesn’t always require an expensive product or salon treatment. These simple habits can help keep your natural silver looking brighter, cleaner, and more vibrant.
- Discover simple everyday habits that can naturally brighten gray hair and help prevent dullness and discoloration.
- Learn how product buildup, sun exposure, heat, and chlorine can affect gray hair, and what you can do to protect your hair.
- Get practical tips for cleansing and caring for your gray hair, so it stays fresh, shiny, and beautifully silver.
Please note that this article may contain affiliate links. You can read my full disclosure at the bottom of the page.
Clean Your Hairbrush (Yes, Really)
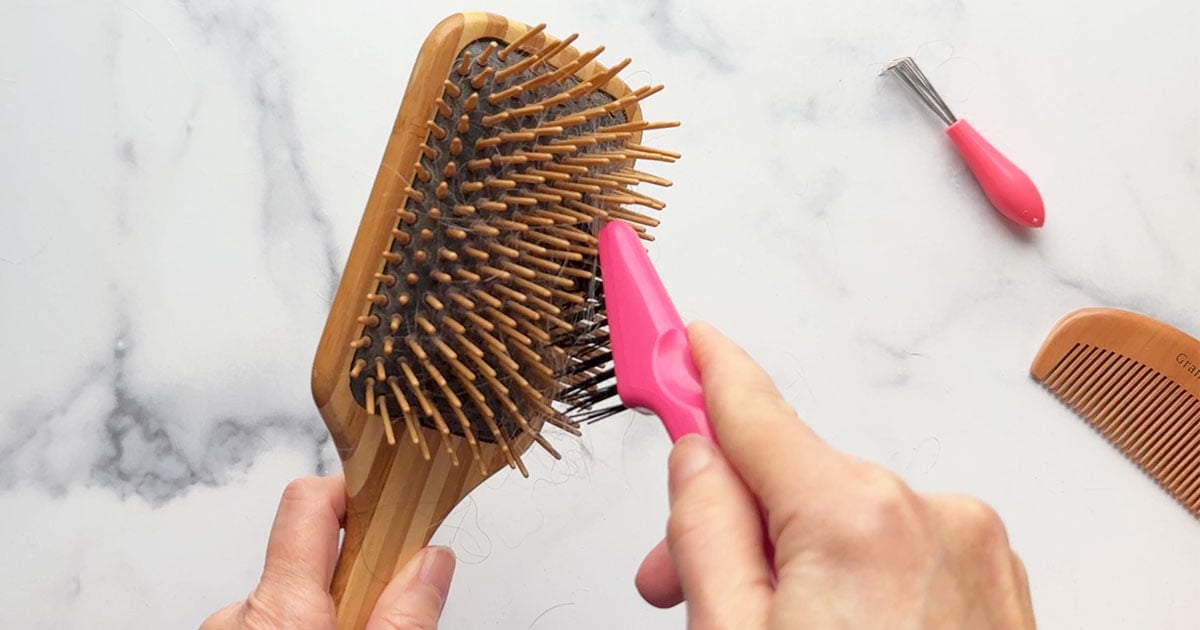
Okay, I’m a little embarrassed to admit I only recently started doing this consistently. But here’s the deal: you should clean your hairbrush at least twice a month because product buildup on your hairbrush can actually dull your gray hair.
Here’s how you do it:
- Clean all the hair out of your hairbrush. I prefer to use a tool specifically designed for this purpose, but you can also use a comb.
- Fill a container with water and a gentle shampoo, then soak your hairbrush in it. (If you have a wooden hairbrush, make sure you don’t submerge the handle).
- Let your hairbrush soak for a little while, then use the tool or a clean toothbrush to remove any remaining residue.
- Rinse your brush thoroughly.
- After your hairbrush is completely rinsed out, air-dry your brush by laying it on a clean hand towel with the bristles down.
Quick tip: Those little nubs at the end of plastic brushes make cleaning a lot more difficult. So I switched to a wooden paddle brush, and it has made all the difference.
Avoid Amber-Colored Products
This one makes a big difference when it comes to brightening your hair: Try to avoid using amber-colored products on your naturally gray hair.
In fact, if your hair is really prone to discoloration, like mine, you may want to stick to white or clear hair products.
Now, I’m not including purple toning products in that. Those are safe to use on gray hair because they actually neutralize any discoloration.
If you want to take it even one step further, you may want to avoid using colored hair accessories or having colored fabrics touch your hair. Now, I don’t go that far. Even though my hair is very prone to discoloration, all of my hats and heatless curling products are made with colored fabrics and none of them have ever stained my hair.
But everyone’s hair is different, so at least be aware that this is a possibility.
Read the Ingredients List
Always read the ingredients list before you invest in a hair care product.
I know hair care companies make this step extremely difficult because they use the tiniest font size known to man when they list their ingredients. But if you have an iPhone, you can actually use the magnifier app to blow the ingredients list up right there in the store so you can get a good look at it.
Make sure to watch out for these ingredients:
- Sulfates: Sulfates are harsh detergents, kind of like dish soap, and they can strip your hair of its natural oils and leave it dry and therefore vulnerable to discoloration.
- Parabens: Parabens can cause hair loss and disrupt your hormones. So I prefer to avoid them altogether.
- Silicones: Here’s a tricky one. Silicones coat the hair and make it look shiny at first, but over time, they trap dirt and pollutants, and they can cause product buildup, which leads to discoloration.
But- and this is a BIG but – not all silicones are created equal. Some of them are fine to use as long as you do tip number four, which we’re about to get into in a minute.
(The whole topic of silicones can be very confusing, but my friend Joli from Quicksilver Hair wrote this fantastic article about ingredients to avoid on your gray hair, and there’s a big section in there about silicones that you should check out).
In the meantime, you might want to do what I do:
I try to avoid using silicones regularly. But if there is a product that contains silicones that I absolutely love, I will use it. And then I will make sure to use tip number four (below), which, honestly, I do anyway.
Here’s Tip # 4:
Clarify Your Gray Hair Once a Week
Product buildup is one of the number one culprits in discoloring and dulling your gray hair.
This is why clarifying your hair once a week is SO important because it will remove that product buildup. This is especially important if you use styling products.
There are a lot of great clarifying shampoos on the market today. I prefer Malibu C Undo Goo, but if you have a preferred one, use that instead.
Shampoo, Rinse, Repeat (Yes, Really!)
Speaking of removing product buildup, here’s that one tip I mentioned at the beginning of this post.
This is the tip that I found ridiculous when I first heard about it, but honestly, it has made the biggest difference in how bright my gray hair looks these days.
You’ve seen this tip, too, because it’s on the back of almost every shampoo bottle: Shampoo, rinse, repeat.
In other words, wash your hair twice before you move on to the conditioning step of your hair care routine.
I’ve always been skeptical of that tip because I figured it was just a way for shampoo companies to make a little bit more money. After all, we’ll use up their products more quickly.
But I couldn’t have been more wrong. It honestly makes a world of difference!
Here’s why: The first wash breaks down product buildup and residue from your hair, but the second wash actually removes the product buildup and residue from your hair.
Ever since I started doing this, my gray hair has looked naturally brighter.
Want to Save this Article?
Quick caveat: I only wash my hair two to three times a week max. If you wash your gray hair every day, or if you have dry hair, this might dry out your hair. So you’ll need to experiment a little to see how to incorporate this tip into your routine to make it work for you.
I’m curious: Do you shampoo your hair twice, too? If you do, and if it works for you or doesn’t work for you, please let me know in the comments! I’d really love to find out.
Protect Your Gray Hair from the Sun
We’ve covered the foundation: keeping your tools clean, choosing the right products, and cleansing your hair properly. Now, let’s talk about protecting your gray hair in the first place from the environmental factors that can cause dullness and discoloration.
The biggest culprit is right outside your window. Yes, I’m talking about the sun.
It’s important to protect your gray hair from the sun, especially if you have fine gray hair. Fine hair is much more prone to discoloration, and sun damage can cause permanent yellow streaks and patches in your gray hair that can only be removed by actually cutting them out.
The easiest and cheapest way to protect your gray hair from the sun is to wear a wide-brimmed hat and tuck your hair under the brim.
If you hate wearing hats, don’t worry. You have another option, but it will require purchasing two products: a UV-protectant cream and an SPF spray. Unfortunately, if you’re trying to save money, you’ll need to use both products together to get full coverage.
Be Cautious with Hot Tools
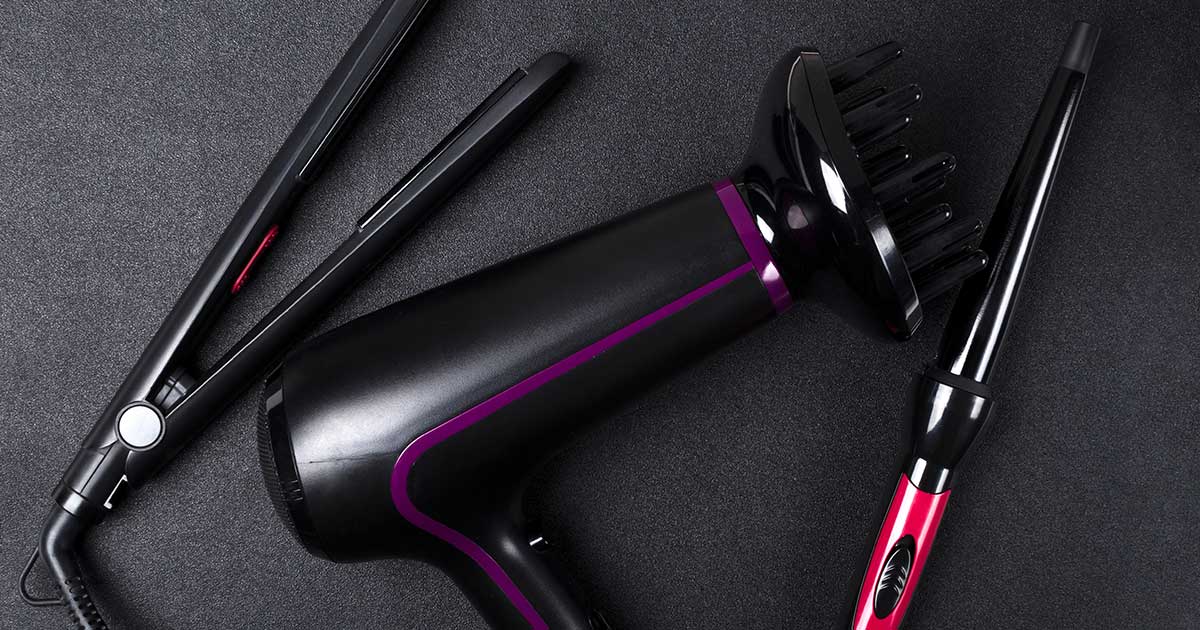
Another great way to prevent discoloration or dullness is to be very cautious when using hot tools or to avoid using them altogether.
Here’s what I do and what you can do too to prevent discoloration caused by heat damage:
- Always use a thermal protectant. There are a lot of great thermal protectants on the market. I personally use SEEN blowout cream, but you can use any one that you want. The main thing is to make sure that your hair is coated from root to tips. And make sure both sides are coated, not just the top.
- Set your heat tool to the lowest possible setting. I like to go as low as 230°F. And the maximum that you should go is 365°F. Not all hot tools will go down to such a low level, so choose your hot tools wisely.
- If you are blow-drying your hair, try to hold the blow dryer at least 6 inches away from your hair and try to do as few passes as possible.
Since I returned to hot tools and followed all those steps, my gray hair has actually stayed pretty bright. I haven’t had many issues with heat-induced discoloration.
Protect Your Hair in Chlorinated Pools
If you swim in a chlorinated pool and you don’t want to end up with green hair, make sure you protect your gray hair before you put even one foot into that pool.
The easiest way to do that is to rinse your hair thoroughly before you get into the pool.
Some women like to add an extra layer to this step: They coat their hair in a silver-safe oil, or they use a leave-in conditioner, and they make sure their hair is completely coated before they step into the pool.
Change Your Part (Instant Glow-Up!)
Here is the unexpectedly brilliant tip that will make your gray hair look instantly brighter.
I can’t take credit for this tip. I read it somewhere a while back, and I don’t remember where, but it really works: simply change your part.
It sounds a bit nutty, but even slightly changing your part can make your gray hair look shinier and brighter because that layer of hair hasn’t yet been exposed to sun, pollution, and stress.
It’s so fun. You’ve got to try it. It’s an instant glow-up.
BONUS: Trim Your Hair Regularly
One more thing I can’t leave out: You need to trim your silver hair regularly to keep it looking bright and fresh.
This works because, over time, even the most well-maintained gray hair absorbs pollutants and products and can get discolored. And the oldest parts of your hair – in other words, the ends – hold the most discoloration.
So getting those ends trimmed regularly is one of the best ways to keep your gray hair looking fresh, clean, and bright.
VIDEO: Brighter Gray Hair For Free!

Let’s Talk!
Some women assume these extra brightening steps make gray hair higher maintenance. Here’s why I still think gray hair is easier to maintain than dyed hair.
Now I want to hear from you! Which of these tips are you already doing, and which one surprised you the most? Drop it in the comments below.
And if you have a brightening tip I didn’t cover, share that too. I’m always looking to learn something new from our wonderful community. 💖
Please do me a favor and share this post to social media, as it helps me grow my audience and spread the word about our Silver Revolution! And remember to subscribe to my YouTube Channel and Pinterest Feed for more gray hair tips and product recommendations. Thanks!


Great article! I wonder if Dove shampoo makes their products silicone and paraben free?
Because the dove products work on my hair but I’m concerned about the ingredients in it.
Thanks! These are great tips!
The Olaplex System and Miche Tropical Oasis have been godsends for my unruly, frizzy, naturally curly salt and pepper hair.
I’m so glad you loved the tips, and thanks for the product suggestions!